Well something awesome is still coming just will probably look a lot different to that preview picture, as I have started again from scratch. Its coming, its going to showcase cost free software and I hope you guys will enjoy it.

Monday, 11 June 2012
Thursday, 5 April 2012
Something awesome this way comes!
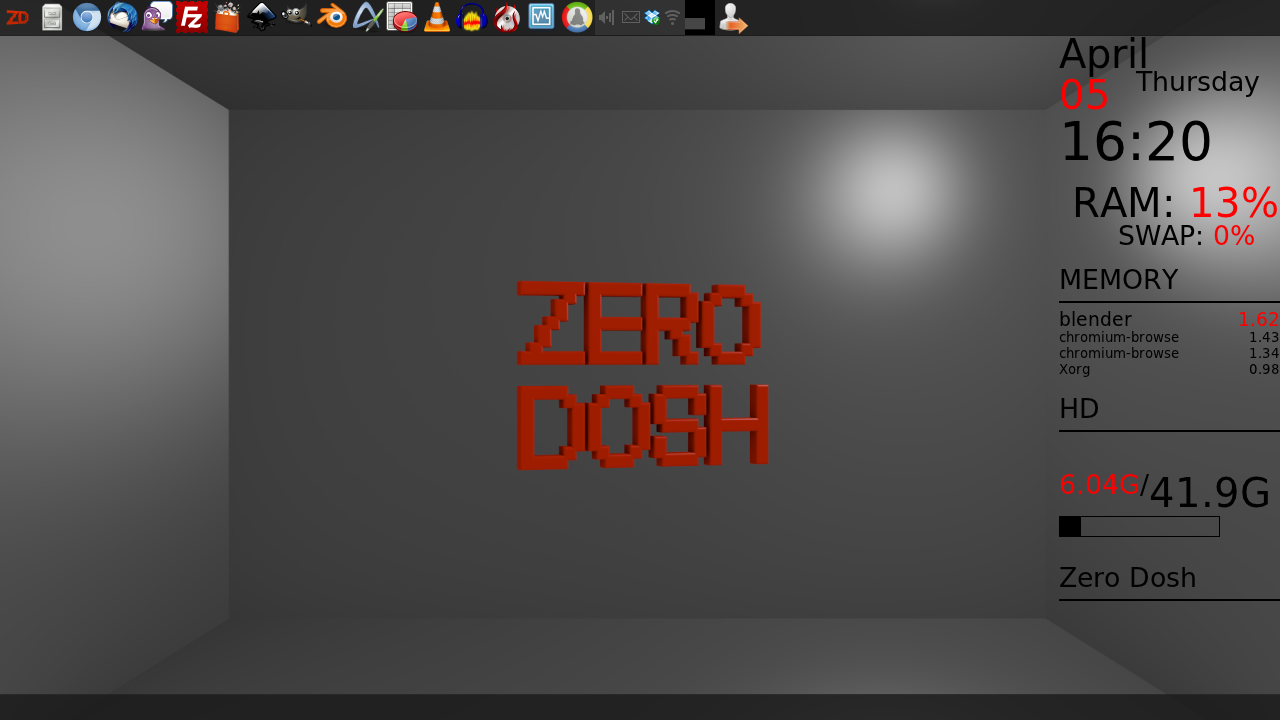
So I was thinking long and hard about what the best way would eb to tell everyone about free software. The answer well its Zero Dosh OS preview screenshot below. This Linux Distro will feature a big selection of some of the best free applications there is, it will be fast and easy to use. I cant wait to get alpha 1 finished and let you guys play with this powerful OS free of course that is the Zero Dosh way)

Wednesday, 14 March 2012
All The Free Graphic Software You Will Ever Need
I have mentioned a few free pieces of graphic software here before but here is a round-up of all the best free graphic software there is in one post.
Free 3D graphic software
Blender (my personal favourite you can get new custom builds here)
Wings 3D
Voidworld
Khed (similar to Milkshape but free)
Sculptris (free version of Zbrush less tools)
Houdini apprentice (Houdini is used by big studios like Dreamworks, free version has some render restrictions but can export to .obj etc for rendering elsewhere.)
K-3D
Art Of Illusion
Anim8or
Daz Studio, Bryce and Hexagon 2.5 (free at time of posting)
Free 2D graphic software
The Gimp (my personal favourite you can get new custom builds here)
Pinta
MyPaint
Paint.net
Photoscape (very easy and quick especially for .gif animations)
Krita, Karbon (Linux software but recently released a windows installer pack with other free software)
Pixlr (online software use in your browser)
Sumo Paint (online software use in your browser)
Muro (made by deviantart online software use in your browser)
Wednesday, 29 February 2012
The Free Way Tip 5 -more free games!
So just a quick one to tell you a great tip, Ign are posting a free game every week day here
Tuesday, 28 February 2012
Blender basics: Pixsplosion Tutorial

Hi this is an in depth but simple tutorial to learn some basic Blender skills. I call this artwork pixsplosion but you can call it whatever you like :D Examples of the finished result on the right. This tutorial is for beginners and there are other ways to achieve this result but this way covers a lot of different Blender skills.
Ok to begin we need to clear our scene, so use right click and select the cube press X to delete, then the light, then the camera. Or you can select all with A and then X to delete. We now have to add a UV sphere by presings Shift+A and set the rings and segments to 32.
image1
Now we need to switch to edit mode by pressing Tab
image2

image3
Zoom in closer to the model using mouse wheel or alt+shift+ left click and move mouse.
image4
Now we need to go to the materials tab and add a new material by clicking on New and change the diffuse to black(unless the character your doing has black parts then you should use white, yellow or another
high contrast colour.
image5
Now we need to choose our 8 bit picture to use for reference I choose this one
image6
Now we need to click the + in the material tab to add a new material then change the diffuse to one of the colours in your reference pic. The reference has only one colour but if yours has multiple repeat this step to add a materil for each.
image 7
Now we can start selecting faces and assigning materials to them to do this right click to select a face and hold shift and then right click on any other faces you want to be the same colour, doing little sections at a time makes it easier to work out the pattern. Then click on the material you want to use in the material tab and click assign.
image8
Keep assigning materials to faces until your pattern is complete.
image 9
Now we need to select half of the sphere and get it ready for using for our background. You can rotate the view around the sphere with the middle mouse button or alt and holding left mouse button while moving the mouse. Just use shift and right click to select the faces or you can select rings by using alt and right clicking to select the vertical rings click on a horizontal edge, hold shift to select multiple rings. If you select using rings it will miss out the very top and bottom faces which you can select with shift+ right clicking.
image 10
With half the sphere selected press P and choose selection to separate it from the rest of your model.
image11
Select one face for each colour material used not the background colour, then press Shift+G and select material this is a great way of selecting specific faces with chosen materials.
image12
Now we can use another selection method Ctrl+I this selects the inverse of your current selection. Press x and choose faces to delete this selection.
image13
To add the pixsplosion effect press A to select all and the Alt+E select individual faces and the adjust by moving the mouse to get your desired result.
image14
Now we need to go back to object mode press Tab.
image15
We can fix distortion of our model by scaling it, to do this use S,Z, move the mouse to re-size it along the Z axis or S,X, move the mouse to scale it along the X axis.
image16
We then move on to our background select it by right clicking it and now change the diffuse of the material if you want to.
image17
Use Tab to go back into edit mode for the background.
image18
with all the faces selected use Alt+E select individual faces again and move the mouse to adjust to the exploded effect again.
image19
Return to object mode by pressing Tab.
image20
Then go to the side view by pressing 3 left click to place the cursor in front of your model.
image21
Then front view by pressing 1 and left click to place the 3d cursor roughly near the middel of your model
image22
We can now add our camera by pressing shift+A and selecting camera.
image23
To see what our camera will render we press 0 to switch to active camera view.
image24
We then need to move our camera to get a good view of our model. Use G,Y then move the mouse to move our camera closer or further away from the model and G to pan the camera R,Z then move the mouse to rotate the camera left and right and R,X to rotate the camera up and down Remember your just lining it up for your character not the background.
image25
Now select the background with right click scale it to your desired result.
image26
Go to the render tab here you can adjust the resolution of your render and the level of Anti-aliasing. The higher you set it the more powerful pc you will need and the longer the render will take.
image27
Then switch to the world tab turn on Ambient Occlusion, Enviroment Lighting and Indirect Lighting. You can also increase the samples here to make your shadows less grainy again the higher you set it the more powerful pc you will need and the longer the render will take.
image 28
Now just hit F12 and give Blender sometime to do your render
image29
Now click image, save as image and your done you have cool art to show people and may have learnt some skills along the way :D
image30
Blender as in all the software reccomended here is free download it here current version used for this tutorial 2.62
Tutorial screens overview click to see

Monday, 21 November 2011
Allmyapps Review And Starter Guide
Allmyapps is basically an easy to use app store for Windows it can be downloaded here. All you have to do to get started is sign up (you can use your Google of Facebook account if you want to save time) download and install.
The store`s home looks like this.

By clicking on a category say "web" for example you get results like this.

You can the sort these results by installed, price(there is some non free apps on this service), rating, or name. As you can see it puts a big green tick next to apps you already have. To start downloading and installing an app just click the free install button and sometimes you may have to agree to terms and conditions, that is it simple as that!
There is also a section called My Apps that shows all the ones you have and whether they need updating(which you can automatically have the program do for you). The big bonus of Allmyapps is logging in on another computer and already having your list of apps there tow download so you dont have to find them again.
The only complaint i have with Allmyapps is when you click on Top Apps it shows Top paid apps first with Top Free apps below, this a minor complaint as they need to make their money somehow.
Overall a great free program and i highly recommend downloading it 4/5
The Free Way tip 4 - Play awesome free games!
Video games a fantastic but expensive hobby. Why not play some free games when your funds are low, i will list some great examples below.
Steam (download here) you may know it as the great digital download service which launched with Half Life 2, did you know it now has a free to play category? Here is what i recommend:
Team fortress 2 this great team based first person shooter is now free to play.
DC universe online(also available again for free on PS3!) A fantastic superhero MMO with all your favourite DC heroes/villains giving you missions and or helping you out sometimes :D
EA now has a similar service called Origin here, that also offers some free games! Here is what i recommend:
Battlefield Heroes this is somewhere in the middle of Team Fortress and other Battlefield games lol, they also offer the more serious Battlefield Play For Free.
Need For Speed World a great free game for racing fans.
Blizzard has a couple of great free starter editions which are:
World Of Warcraft starter edition free here
Starcraft 2 starter edition free here
These were just a few examples there are tons more out there, especially if you like MMO`s or casual games. I will do articles about them in the future.
Subscribe to:
Posts (Atom)